Webmistress: Casey
Webhost: Dreamhost
Coding: Casey
Design: Casey
Number of Vids: 52
Views:
Convert M2TS/MKV to MJPEG AVI with Avidemux
Avidemux is a staple with a number of fan video editors, myself included! It can output many different formats, including AVI, MP4, FLV, MPG, TS, and even MKV; and it outputs quite a few different codecs, including two lossless codecs—HuffyUV and Lagarith. The best thing is that this thing is completely one hundred percent free!
*NOTE* Avidemux is also one of the smaller amount of freeware converters/encoders that will open an M2TS and MKV with no problem, AND convert to the MJPEG codec, which is what this tutorial is all about!.
Anyway, on with the show!
If you've followed my blu-ray ripping tutorial, you've got these muxed M2TS files that you can't do anything with, right? You can't edit them in your program at all, right? (If you use older softwares or watered-down versions—e.g. Sony Vegas 8.0 and earlier...) Not many programs seem to open these files either, right? And you don't have the space to convert all these movies/tv series to lossless codecs to edit with, right?
And in the case of MKV, well, you can't seem to open them in any version of your editing program, right?
This is where the MJPEG codec comes in. It's a quite a good editing codec—not as good as UT, Huffy, or even Lagarith (because it's lossy, not lossless—which means some quality loss), but it's quite decent—and the best part is that you can convert to it entirely with freeware (once you've downloaded the demo version of the codec; and look, Ma, no watermarks!). Another great thing about MJPEG is that while it retains this good quality, it's also smaller, file size wise. (~8GB for a 1920x1080 blu-ray tv show episode compared to possibly more than 20GB for that same episode!)
First things first is to open your M2TS/MKV file. Then this little window will pop up:
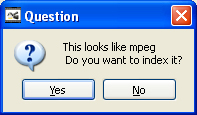
You will always need to click Yes because Avidemux will NOT open your file otherwise. Then Avidemux will index (I also consider it like importing into an NLE) your file into Avidemux; it can take from one minute to possibly up to thirty minutes, depending on the file size and the power of your processor, so YMMV.
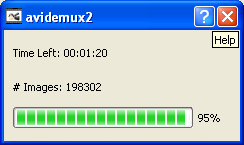
Now, depending on the codec of the M2TS/MKV files, this window may pop up:

I've found that clicking no doesn't impact the end results, so go ahead and say no to that.
Next up, a window will pop up about rebuliding the frames. This one you want to click yes, so do so.
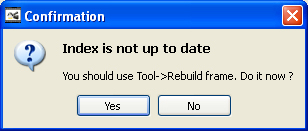
Then Avidemux will "rebuild frames" of your file. Again, your miles may vary on the speed this is done. Just be patient, okay?
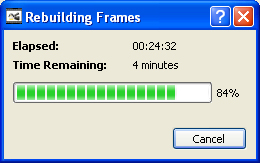
Once it's done, you can finally get to setting up for encoding your file. You can add filters (like cropping your video, changing the size, etc.), but I find it unncessesary since blu-ray/high-def is already such high quality that you don't really need to do anything to it. But, you could end up with the one file that has interlaced frames, so check your file over before you encode.
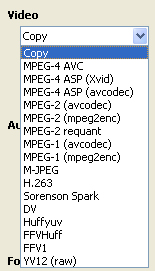
Go to Video where it says Copy and select the drop down. There's quite a list of video codecs, but what we want for this is MJPEG, so select that.
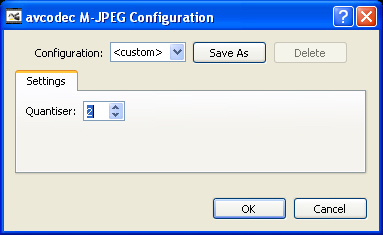
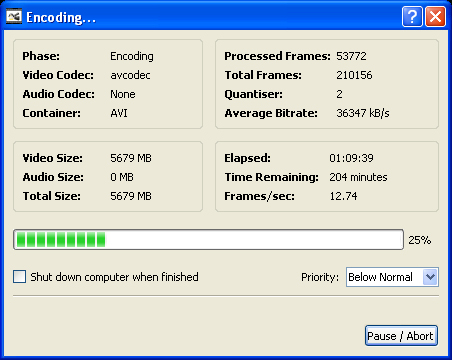
Next, click on Configure. This allows you to select the quality of your MJPEG file. The lower the number, the higher the quality. I usually go with the highest quality of "2", but I would recommend testing your result files to figure out how low you can go before the footage starts looking bad, if you're really trying to save more space.
*If you don't have audio in your file, you can just ignore this next part...*
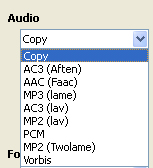
Now, go to Audio where it says Copy and select the drop down here as well. Like before, there are quite a few choices of audio codecs. Your best choice is PCM. It's uncompressed, which is the best choice for audio when using it for editing purposes.
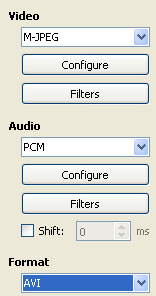
Your setup should look like this:
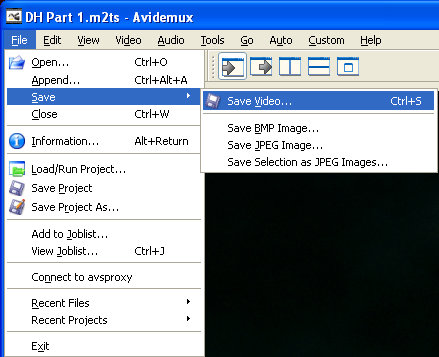
Alright, you're ready to save your file! Go to File —> Save —> Save Video:
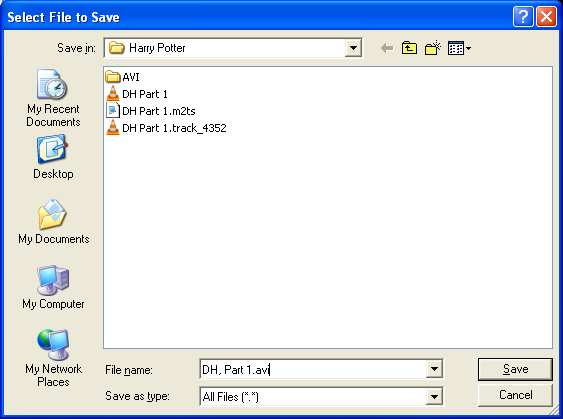
Go to the folder you want to save your movie/tv show episode and label it. IMPORTANT: YOU MUST PUT .avi AT THE END OF THE TITLE OF THE FILE. IF YOU DO NOT, AVIDEMUX WILL NOT SAVE IT AS AN AVI. IT WILL JUST BE AN "UNKNOWN" FILE!!!
Avidemux will now encode your AVI file.
When it's finished, this window will pop up:
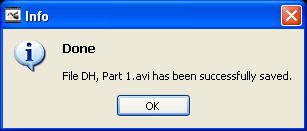
And you're done!
HOLD IT! WHAT IN THE WORLD ARE THESE AVI## FILES? I CAN'T OPEN THEM IN ANYTHING!!!
You mean this?
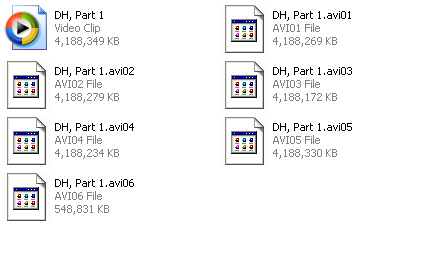
I know; it's something I really don't like about Avidemux. When it saves an AVI file, it save it in the old AVI 1.0 way, which means it splits your file every 4.0GB. I have not been able to figure a way out of that.
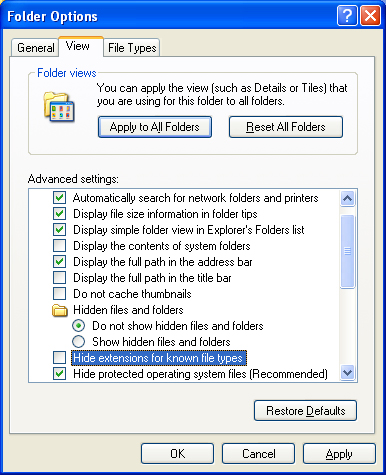
Okay, in Windows Explorer, go to Tools —> Folder Options... then click the View tab. Then uncheck the option Hide extentions for known file types, and then click Apply.
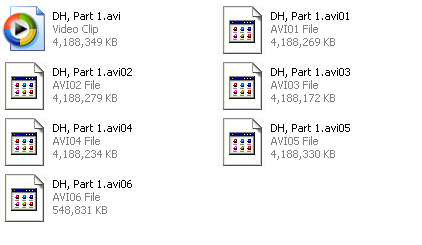
Now, every. single. file will be showing their extentions. Like below...
Click on one of the AVI## files, and click as though you're going to rename it. Delete the numbers after AVI and instead insert numbers before the AVI extention.
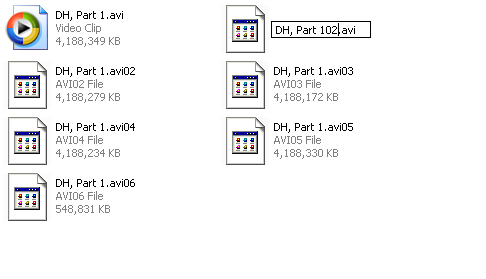
Do the same for every AVI## file; and when you're done, go to Tools —> Folder Options... then click the View tab all over again. And this time re-check the option Hide extentions for known file types, and then click Apply.
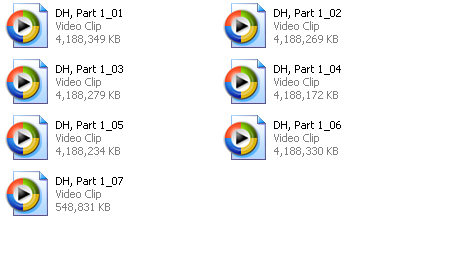
Now you can actually do something with these files.
WAIT A SECOND... I CAN'T OPEN THE FILE IN MY EDITING PROGRAM! WHAT GIVES???
I know, I know. Some programs, like the earlier versions of Sony Vegas Pro (8.0 and earlier) won't take MJPEG AVI files—at least without the $20 for the full version of the MJPEG codec (which costs $20)
BUT I DON'T WANNA PAY FOR A CODEC! NOW WHAT DO I DO???
Patience, people! There is still a way to get MJPEG compressed files into your editor. You'll just need to re-encode it into MJPEG again—or JPEG 2000, which I cover in the next tutorial.
Leave a comment at my Livejournal

