Webmistress: Casey
Webhost: Dreamhost
Coding: Casey
Design: Casey
Number of Vids: 52
Views:
Muxing Together Your Video Files with tsMuxer
tsMuxer is a fantastic program to help you weed out all the tracks you don't need/want. It not only works with blu-ray discs you rip onto your computer, but M2TS files (that you may have downloaded, for example) as well. (You can even do multiple files at once—called batch processing.)
Okay, now we have our blu-ray disc ripped onto the hard drive. Now what? We can't use these numbered files!
This is where tsMuxer comes in! First off, of course, is to open it:
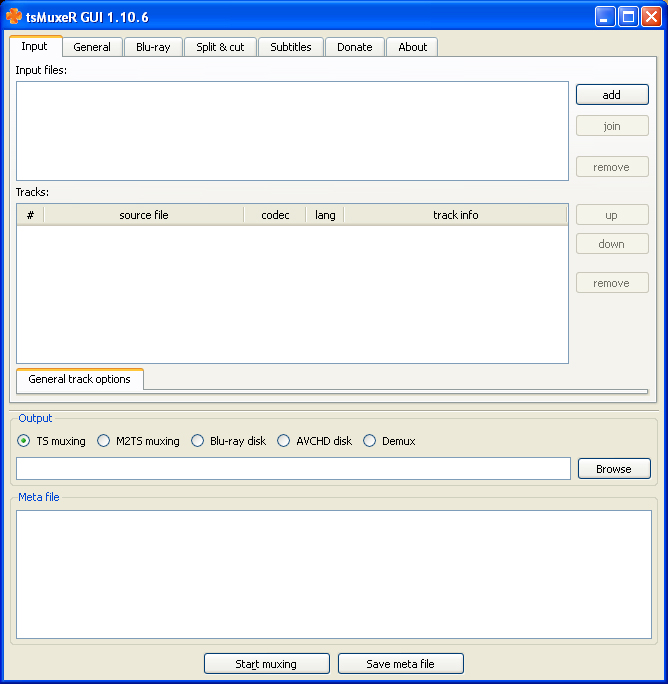
Click Add and go to where you saved your blu-ray disc and go into the folder:
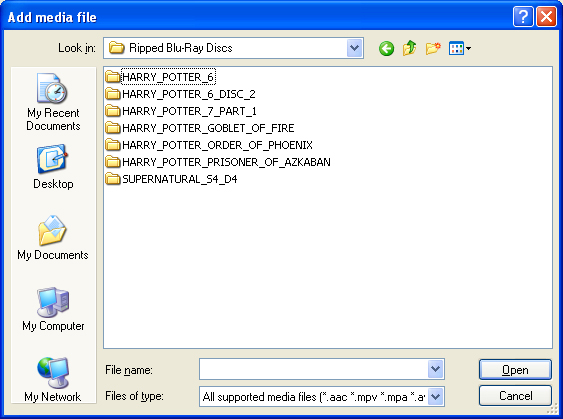
And up pop two folders (if you haven't deleted any folders in the blu-ray disc folder—which you shouldn't have if you've been following this guide so far).
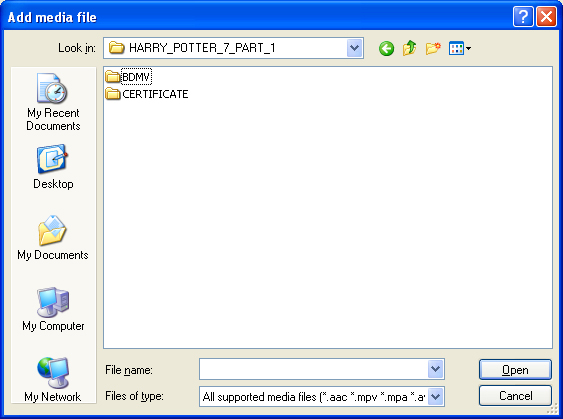
You need to select BDMV, then a bunch of other folders show up:
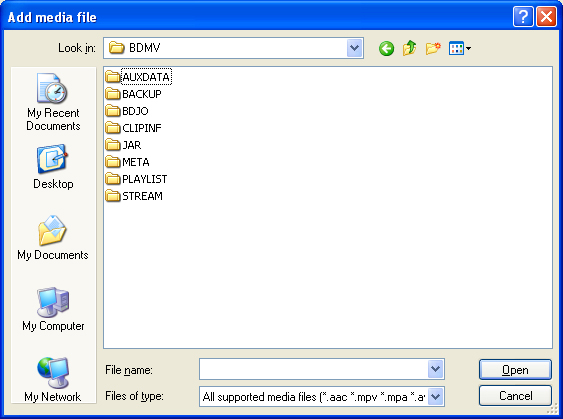
Next, choose the folder called PLAYLIST.
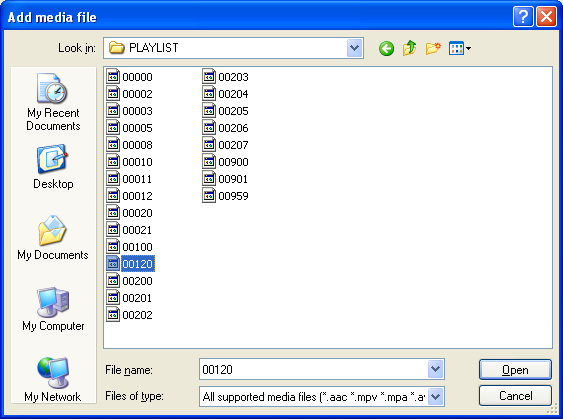
I know what you're thinking. What. In. The. World. Are. These?
Don't panic! These are your reference files to putting together your movie/tv episode into a single file. If you tried to use the individual M2TS files, you'd have to first watch every. single. file. to figure out at which point in the movie this is, and then you'd have to load them all in the correct order. Not to mention that in blu-ray discs, I've found, the numbered M2TS files are not actually in order of where they are in the movie; they jump around. Using a playlist file (extention .mpls) is much, much faster.
Now, picking the playlist that contains the full movie/tv episode is not exact science. You're just going to have to select each of them until the length of the playlist matches the movie/tv episode length.

(MOVIE)

(TV SHOW EPISODE)
Now sometimes (depending on when the blu-ray disc was released), this popup will show up:

I've never seen this as a problem; just ignore this.
Now, onto options!
The important thing we want to look at is the tracks area:

(TV SHOW EPISODE)

(MOVIE)
This is the most important area. You're going to need to uncheck any tracks you don't want in the muxed file (subtitles, foreign audio tracks—and in the case of movies, extra video tracks), then click the line of the track you unchecked and choose remove on the right. (Now, for movies, most likely you'll want to keep the DTS (or DTS-HD) track; and for tv show episodes you'll want to keep the 640kbps 5.1 AC-3 track.)
This is what your tracks area will look like when you're done:

(TV SHOW EPISODE)

(MOVIE)
*NOTE* If you don't plan on using audio in your vidding, you can just uncheck/remove all the audio tracks and just keep the video one. It will not affect the outputed file.
In the General track options, you can change your fps, or frames per second to what fits the region of the disc you ripped. (Most likely, you won't need to; but in the case you ripped a disc from another region that's not the one you live in, that's what this is for.)

Under Output, you need to select M2TS muxing. Nothing else.

Click Browse and choose what to name and where to save your muxed file:
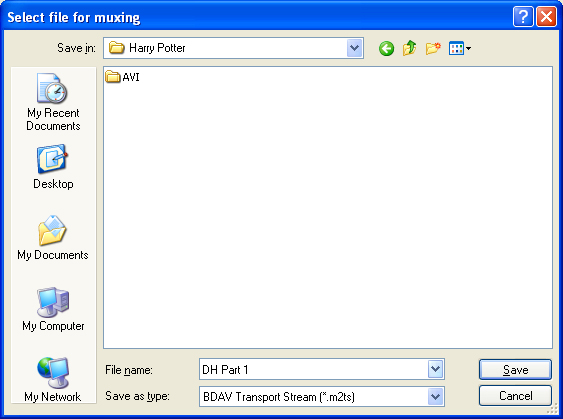
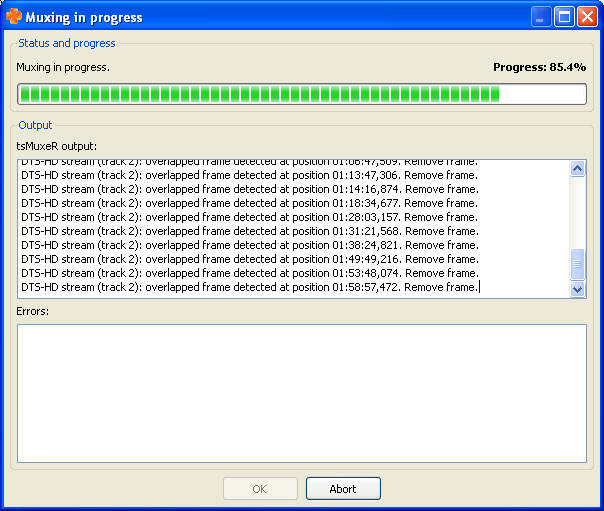
Then click Start Muxing and let tsMuxer do its work. The time varies with how long the movie/tv show episode is, and how fast your processor is, so patience is a virtue...!
When it's finished, tsMuxer will make a wind chime-like noise. Just click OK and that's it.
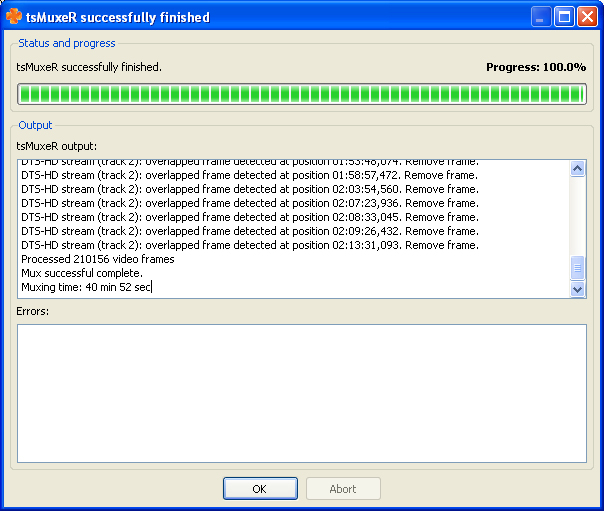
You've successfully muxed together a full M2TS file!
*NOTE*For M2TS files, it's very similar; instead of opening the playlist files, you choose the M2TS file and basically follow the same instructions.
**NOTE #2**You can mux into more than M2TS, you can follow these instructions, though, and you can still mux together into the different formats (blu-ray disc is basically putting the file into the folders/files format that you rip from a blu-ray disc, and AVCHD disc is also a format ready to rip to disc; demuxing is basically separating a track from all the others into its own file.)
Leave a comment at my Livejournal

