Webmistress: Casey
Webhost: Dreamhost
Coding: Casey
Design: Casey
Number of Vids: 52
Views:
Creating Lossless Files from M2TS/MKV with VirtualDub
The freeware standard for lossless conversion. After making a script with AviSynth, you can load a M2TS/MKV file to either convert the full episode/movie or create clips of what you need for editing. Not much more needs to be said about this.
How to Export a Single File/Clip
First, make sure you've followed the Avisynth tutorial before loading any M2TS or MKV files into VirtualDub. Second, make sure you have the latest version of VirtualDub (1.9.11).
Alright, let's go!
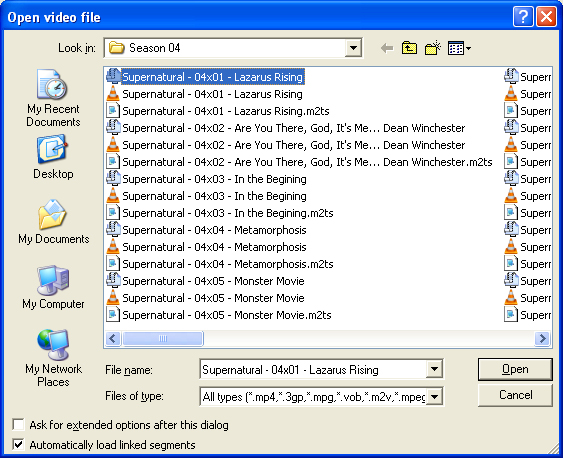
First things first, let's load that Avisynth script created for the M2TS/MKV file like so:
Then, give VirtualDub some time to load it up. (If you don't have the first clue about VirtualDub, here's a guide on it here at the FoolishPassions forum. I know it's for VirtualDubMod, but the two programs are very similar.)
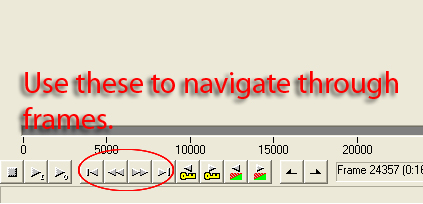
The two most important things for making clips are in the two pictures below:

Now, there's a list of things we need to do before we save our file (either full file or clip from file).
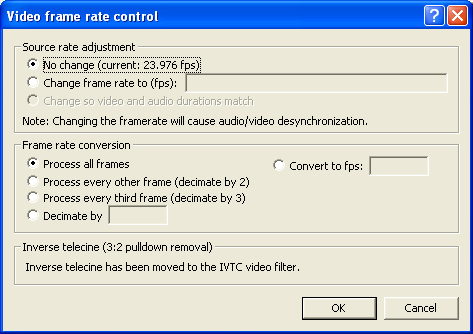
First, make sure that VirtualDub has the correct frame rate from your source file. If it doesn't, you need to check Change frame rate to (fps) and type in the correct one.
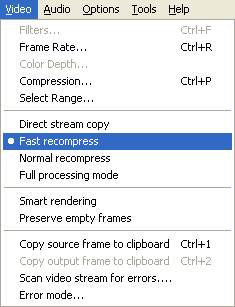
Next, you need to go to Video and select Fast Recompress. Since we're editing HD/Blu-ray files, we don't need to add filters—like we'd have to with DVD quality footage. (This also makes sure the colorspace doesn't change radically, as this would cause some quality loss.)
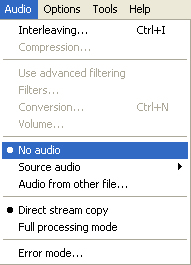
Next, go to Audio and click No Audio.
If you want to have audio in your output file, you will then need to go to Audio —> Audio from other file...
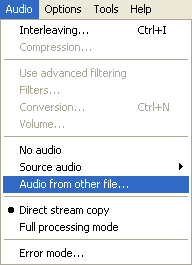
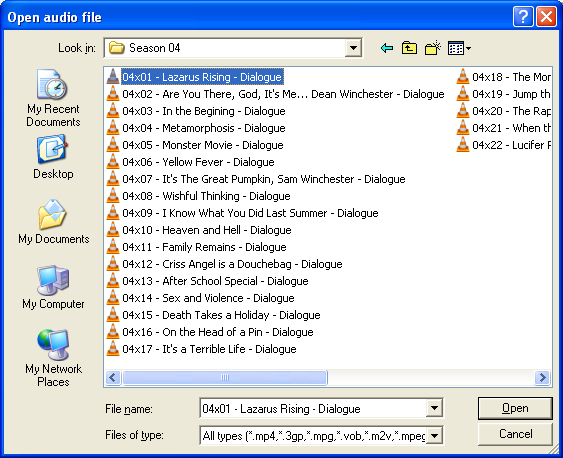
Then load your separate audio file. (How to do this will be in a later tutorial!)
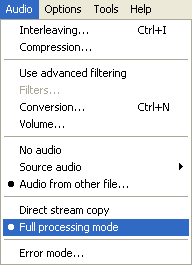
Then, go back to Audio and click Full Processing Mode (or Direct Stream Copy if your audio file is already a .wav file). Next, go to Audio —> Compression...
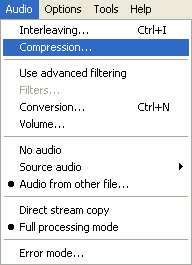
This window pops up:
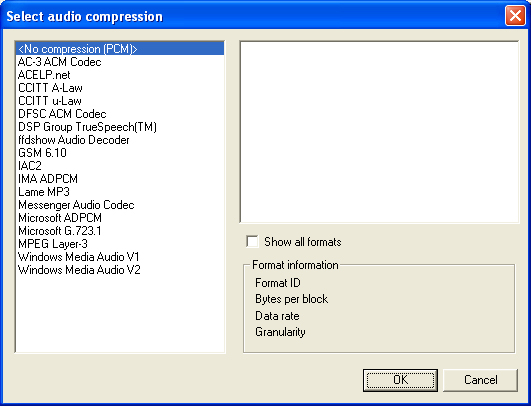
Select No compression (PCM).
Now back to the video!
Go to Video —> Compression...
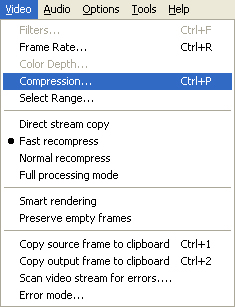
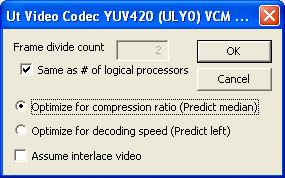
A new window pops up. Select Ut Video YUV420 (UYL0) VCM [x86 or x64—depends on your system], then click Configure. The reason this one is being chosen is that this is the closest colorspace to our blu-ray/MKV files we're inputing, so there's less quality loss this way.
To learn more about why this codec is being used, please go to this page to learn why. And it you haven't downloaded it yet, here's the link.
Check Same as # of logical processors, and check either Optimize for compression ratio (smaller size) or Optimize for decoding speed (less compression). Either is up to you.
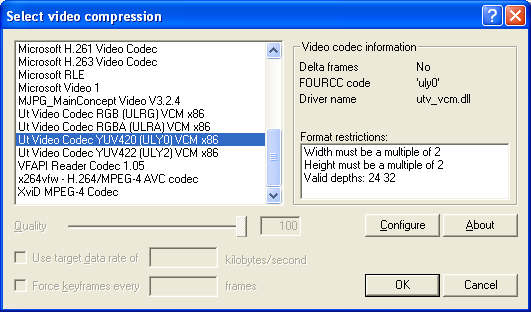
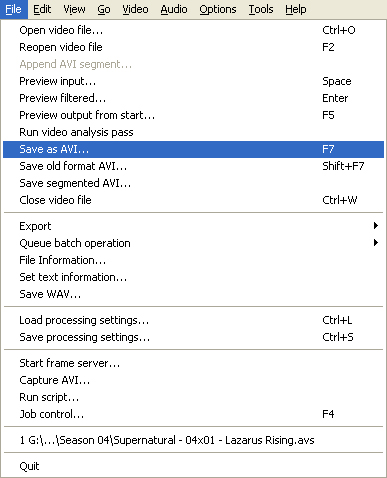
Now we're ready to save our file. Go to File —> Save as AVI...
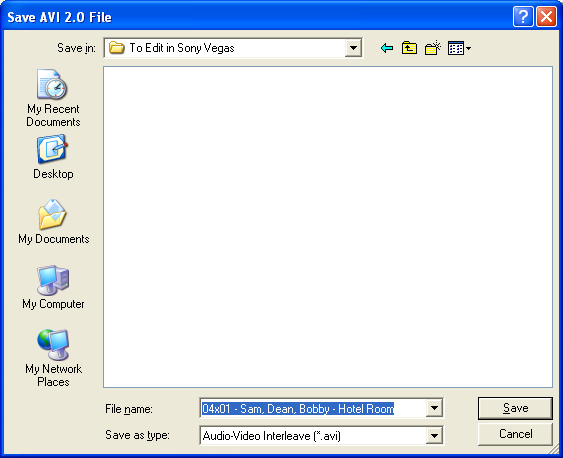
Choose your output location and name...
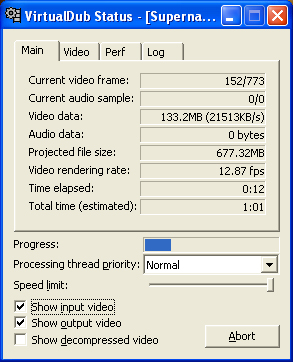
Click Save and let VirtualDub do its job.
How to Use Job Control to Output Multiple Files
Okay, but what about those of us who want to save multiple files in a session and not just one at a time?
This is where Job Control comes in. Once you have chosen the frames/file to save, go to File —> Queue batch operation —> Save as avi...
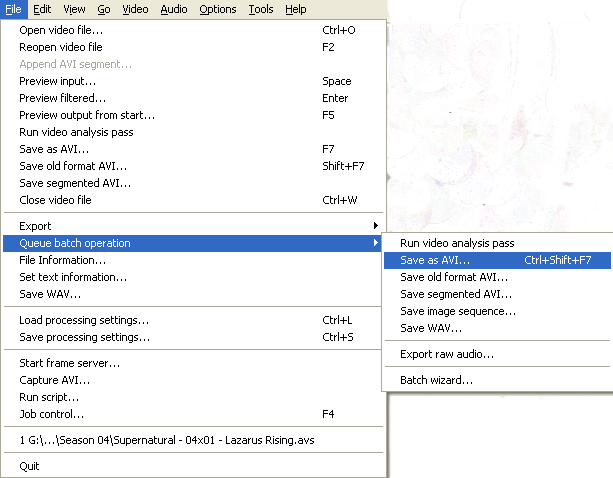
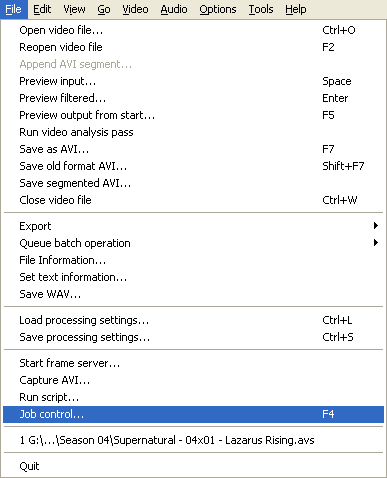
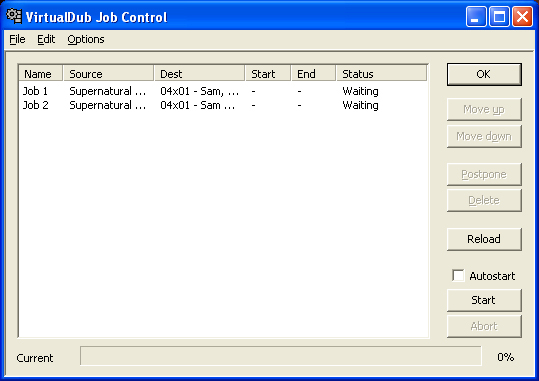
Choose your location and file name like you would a single file. It's been added to a list. Now you're free to open other files and clip/save them as well. When you're ready to start converting your list of output files, go to File —> Job Control, and a window pops up.
Your list is ready for you begin converting; just press Start, and VirtualDub is off into the races.
Leave a comment at my Livejournal

